
Repurpose Crib Rails: Creative DIY Ideas for Upcycling Old Cribs
Old crib rails gathering dust in your attic or garage? Don’t toss them out! Repurposing crib rails is a fantastic way to breathe new life into these sturdy, versatile pieces while embracing sustainability.
From baby-friendly projects to home organization and garden hacks, this guide explores creative and practical DIY ideas to transform crib rails into functional and decorative household items.
Whether you’re a seasoned DIYer or a beginner, these projects are approachable, budget-friendly, and packed with inspiration.
Why Repurpose Crib Rails?
Crib rails, typically made of durable wood or metal, are perfect for upcycling due to their sturdiness, compact size, and slatted design.
Repurposing not only reduces waste but also allows you to create unique, personalized items for your home.
Before starting, always check for safety: ensure the rails are free of lead paint, splinters, or damaged finishes, and verify that the spacing between slats is safe for your intended use (especially for baby-related projects).
Below, we’ve rounded up a variety of projects organized by theme baby and nursery ideas, home and garden solutions, and unique seasonal decor complete with step-by-step guidance and tips to spark your creativity.
🔧 DIY Repurposing Ideas for Crib Rails
Turn those old crib rails into functional and stylish household items with these creative DIY projects.
1. Potting Bench for Your Garden
Transform a crib rail into a charming potting bench for your garden, perfect for organizing tools and plants.
Materials Needed:
- Crib rail (wooden preferred)
- Two pieces of scrap wood (for legs or bracing)
- Screws or nails
- Sandpaper
- Outdoor paint or sealant (optional)
Steps:
- Sand the crib rail to remove any rough edges or old finish.
- Attach scrap wood pieces to the bottom of the rail to create a stable base or legs. Ensure the height suits your workspace (typically 30–36 inches).
- Secure the rail to the base using screws or nails for sturdiness.
- Paint or seal the bench with weather-resistant finish for outdoor durability.
- Add hooks or shelves (from additional crib slats) to hang tools or hold pots.
Tip: Use the slatted design to hang small gardening tools or create a shelf for seed packets.
2. DIY Doggie Gate
Keep your furry friends safe with a stylish doggie gate made from crib rails.
Materials Needed:
- Crib rail
- Hinges or sliding hardware
- Sandpaper
- Paint or stain (pet-safe)
Steps:
- Measure the doorway or area where the gate will be installed.
- Sand the rail and apply a pet-safe paint or stain for a polished look.
- Attach hinges to one side of the rail and secure it to the wall or doorframe.
- Add a latch or sliding mechanism for easy access.
- Ensure the slat spacing is narrow enough to prevent pets from squeezing through.
Safety Note: Double-check that the gate is secure and won’t tip over.
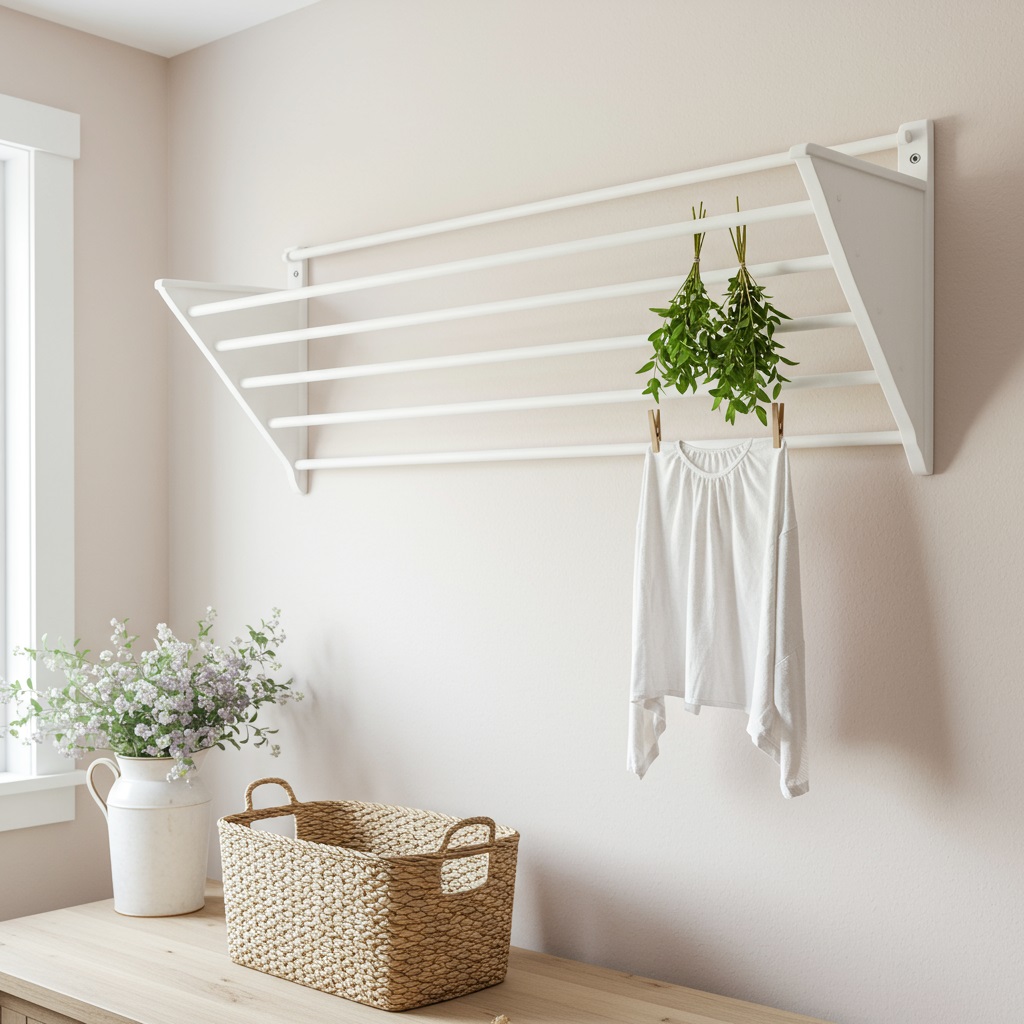
3. Fabric Organizer or Quilt Rack
Organize blankets, quilts, or fabric scraps with a crib rail turned into a wall-mounted rack.
Materials Needed:
- Crib rail
- Wall-mounting brackets
- Screws and wall anchors
- Sandpaper
- Paint or stain (optional)
Steps:
- Sand the rail for a smooth finish and paint or stain if desired.
- Attach wall-mounting brackets to the back of the rail.
- Secure the rail to the wall using screws and anchors, ensuring it’s level.
- Drape quilts or fabrics over the slats for easy access and display.
Inspiration: This rack doubles as a decorative piece in a cozy living room or craft space.
4. Chalkboard Menu Board or Toy Display Rack
Create a fun chalkboard menu board for your kitchen or a Hot Wheels/toy display rack for a playroom.
For a Chalkboard Menu Board:
- Paint one side of the crib rail with chalkboard paint.
- Sand and prime the rail first for a smooth finish.
- Hang the rail vertically or horizontally using over-the-door wreath hangers or wall brackets.
- Use chalk to write menus, grocery lists, or family notes.
For a Toy Display Rack:
- Mount the rail horizontally on a playroom wall.
- Use the slats to hang toy cars, action figures, or small baskets for storage.
- Paint the rail in bright, kid-friendly colors for a playful vibe.
Tip: Add hooks or clips to the slats for extra storage versatility.
5. Ladder Rack, Hanging Pot Rack, or Bike Rack
Crib rails are perfect for creating racks for various purposes.
Ladder Rack:
- Lean a crib rail against a wall as a decorative ladder for blankets or towels.
- Secure the top to prevent slipping, or add rubber feet for stability.
Hanging Pot Rack:
- Suspend a crib rail from the ceiling using sturdy chains or ropes.
- Add S-hooks to hang pots, pans, or kitchen utensils.
Bike Rack:
- Mount a crib rail horizontally on a garage wall.
- Use the slats to hang bikes or outdoor gear with hooks.
Safety Note: Ensure all racks are securely fastened to handle weight.
6. Reading Nook or Toy Box
Build a cozy reading nook or toy box using an entire crib or just the rails.
Reading Nook:
- Use two crib rails as side supports and add a wooden or cushioned seat between them.
- Sand and paint the rails in soft pastels or bold colors.
- Add cushions and a small bookshelf for a cozy corner.
Toy Box:
- Disassemble the crib and use the rails as sides for a rectangular toy box.
- Attach a plywood base and secure the rails with screws.
- Add a hinged lid (from scrap wood) for easy access.
Tip: Personalize with stencils or decals for a custom touch.
🧸 Baby & Nursery Ideas
Repurpose crib rails to create safe, functional, and adorable additions to a nursery or toddler’s room.
1. Toddler Bed Side Rails
Convert crib rails into side rails for a toddler bed to ensure safety during the transition from crib to big-kid bed.
Steps:
- Check the rail’s spacing (no more than 2⅜ inches between slats for safety).
- Sand and repaint the rail with non-toxic, child-safe paint.
- Attach the rail to the side of a toddler bed frame using dry assembly (screws or bolts, no glue for adjustability).
- Ensure the rail is secure and at a height that prevents falls.
Safety Note: Always verify that the rail meets current safety standards for toddler beds.
2. Creative Baby Room Decor
Use crib rails or bumpers for unique nursery decor.
- Wall Art: Paint crib slats in soft colors and arrange them into geometric patterns or letters for the baby’s name.
- Mobile Hanger: Suspend a crib rail from the ceiling and attach lightweight toys or fabric scraps to create a DIY mobile.
- Bumper Reuse: Repurpose crib bumpers into soft storage pouches or decorative pillows for the nursery.
Tip: Use leftover crib fabric to sew a fitted crib sheet for a new mattress.
🏡 Home & Garden Projects
Transform crib rails into practical furniture or storage solutions for your home and garden.
1. Bench or Headboard
Turn a crib rail into a stylish bench or headboard for your home.
Bench:
- Use two crib rails as the backrest and sides.
- Attach a wooden seat (from scrap wood or a pallet).
- Sand and paint for a rustic or modern look.
Headboard:
- Mount a crib rail vertically or horizontally above a bed.
- Add trim wood or decorative molding for a polished finish.
Tip: Extend the legs of the bench with scrap wood for added height.
2. Vertical Storage Rack
Use an over-the-door wreath hanger to suspend a crib rail as a vertical storage rack.
- Hang the rail on a pantry or closet door.
- Add hooks or baskets to the slats for storing spices, cleaning supplies, or craft materials.
- Paint the rail to match your decor.
Inspiration: This is perfect for small spaces where floor storage is limited.
3. Large-Capacity Laundry Basket
Create a sturdy laundry basket using a crib frame.
Steps:
- Use the crib’s base and rails to form a rectangular frame.
- Line the interior with fabric or mesh (repurpose old crib bumpers if available).
- Secure the fabric with staples or sewing for durability.
- Add handles from rope or leftover wood slats.
Tip: Make it mobile by adding caster wheels to the base.
🇺🇸 Unique & Seasonal Ideas
Add a festive or patriotic flair to your home with these crib rail projects.
1. American Flag Display
Create a striking American flag display using painted crib slats.
Steps:
- Sand and prime the crib slats for a smooth finish.
- Paint alternating slats red and white for the stripes.
- Paint a small section of slats blue with white stars for the field.
- Arrange the slats on a wooden backing and secure with screws or glue.
- Hang the display on a wall or fence for patriotic holidays.
Tip: Use weather-resistant paint for outdoor displays.
2. Seasonal Home Decor
Repurpose crib rails for seasonal decor that shines year-round.
- Winter: Wrap a crib rail with fairy lights and pinecones for a festive mantle display.
- Spring: Paint the rail in pastel colors and hang faux flowers for a garden-inspired wreath.
- Fall: Attach small pumpkins or leaves to the slats for a cozy porch decoration.
Inspiration: Use trim wood to add borders or accents to your seasonal designs.
Safety and Material Tips
- Materials: Most crib rails are made of wood (pine, oak, or maple) or metal. Always check for durability and avoid warped or cracked pieces.
- Safety Checks: Inspect for lead paint (common in older cribs) and ensure slat spacing is safe for projects involving children or pets.
- Tools: Basic tools like a screwdriver, drill, sandpaper, and paint are often sufficient for these projects.
- Finishes: Use non-toxic, eco-friendly paints or stains, especially for nursery or pet projects.
Get Inspired and Start Upcycling!
Repurposing crib rails is a rewarding way to combine creativity, sustainability, and functionality.
Whether you’re crafting a potting bench for your garden, a toddler bed rail for safety, or a seasonal flag display, these projects offer endless possibilities.
Grab your tools, gather some scrap wood, and start transforming those old crib rails into something extraordinary.
Share your creations with us in the comments or on social media, we’d love to see your DIY masterpieces!